Top Tips.
5 Tips for better
sounding vlogs.
Whether its narrating over a vlog you’ve filmed about your day, live streaming a game to twitch or vlogging directly to camera on your laptop, having great audio is not only a way to up the production quality of your vlog but it’s also a great way to make it more professional and competitive against great vloggers.
If your viewers can’t understand what you’re saying it makes the viewing experience difficult and the majority will simply turn off. But that doesn’t have to be the case because there is no secret to great sound and its never been easier or more affordable to achieve professional quality sound.
Here we will give you 5 of our top tips on how to get better sound to take your vlog to another level!

Tip 1 – Get a good microphone
Using a good microphone is the first step in getting high quality sound, however it doesn’t have to cost the earth. There has never been a better time to be buying audio equipment, with quality equipment now costing less and less.
Only a few years ago you needed dedicated hardware to amplify your microphone and then convert it from an analogue signal to a digital one as well as send it to your computer, but now with USB microphones on the market all you have to do is plug it in and you’re ready to go.
Tip 2 – Always use a Pop Filter
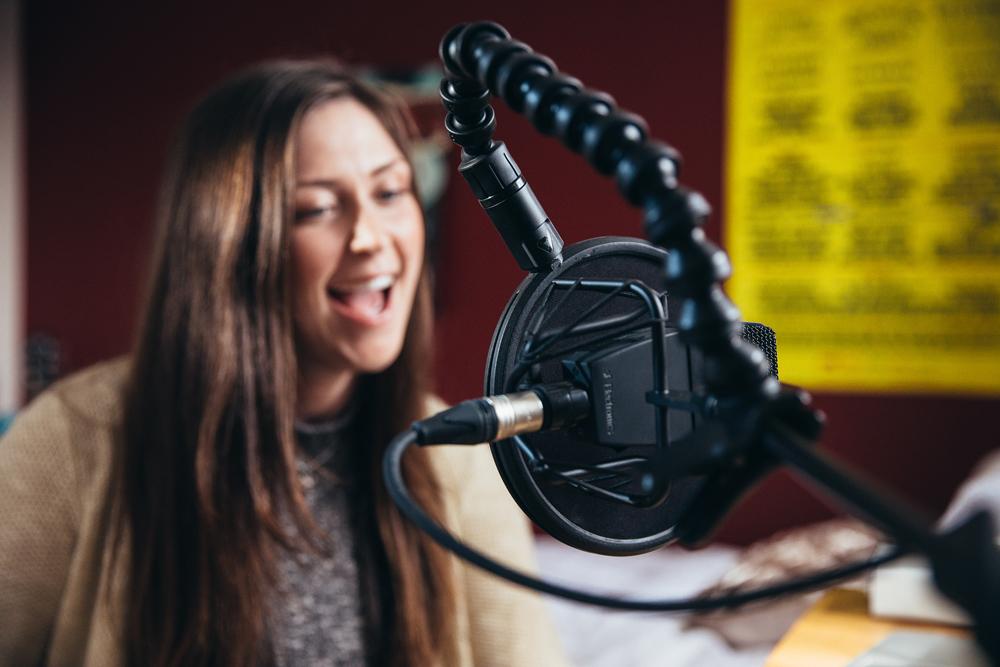
Using a Pop Filter is probably the easiest, quickest and most non technical way to getting a better voice recording for your vlog. The reason being not using a Pop Filter is instantly obvious. This is because we are used to hearing audio recorded through one. Almost every time you hear a voice recording, be it on TV, radio or in music they will have used a Pop Filter.
Without a Pop Filter there is nothing between the microphone and your mouth which means there is nothing protecting the microphone from picking up blasts of air which are naturally created when humans say certain sounds. When you say a word with a B or a P in the movement your mouth makes to create that sound means air is forced out of your mouth at a higher rate than with other words. When this faster moving air, a wind blast, hits the microphone it can cause it to distort which results in the popping sound.
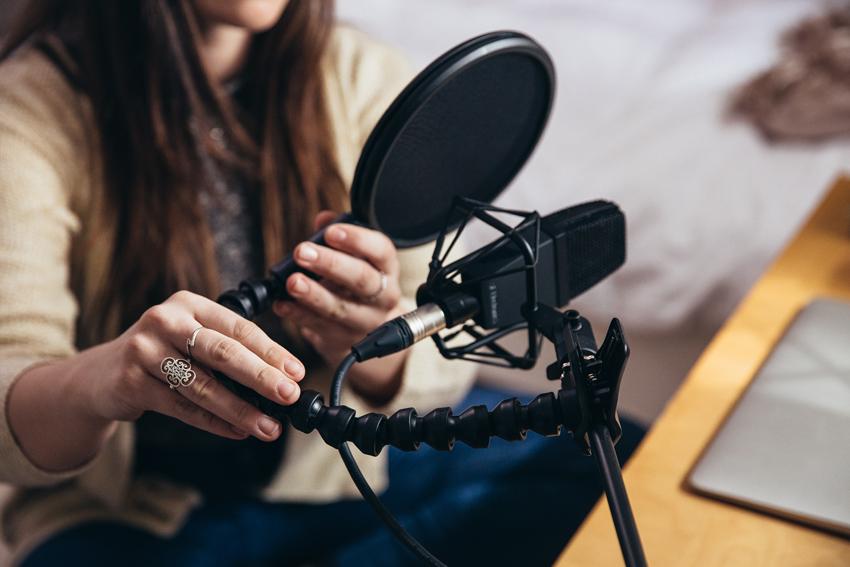
This popping sound isn’t good and instantly makes recordings sound unprofessional and hard to listen to. So how do we fix it? It’s easy! We use a Pop Filter, which is generally made up of two pieces of material which act as an acoustically transparent barrier, slowing the pops down without affecting the sonic characteristics. With the air slowed down it can’t distort the microphone making your recording sound professional and pop free.
There are lots of Pop Filters on the market from extremely cheap ones to ones costing hundreds of pounds. Unfortunately they all use the same design which makes them liable to break easily as well as being fiddly to use. Click here to check out Pop Audio’s Pop Filter which is consistently rated the best on the market as it solves all the problems associated with traditional Pop Filters.

Tip 3 – Location and Setup
The location you record in will also define the quality of your recording. Whilst it is unrealistic to build a sound proofed studio to record your vlogs in small and easy things can be done to improve your sound quality.
The first easy step is to make sure you try and keep the area you are recording in as silent as possible. If you have a monster gaming PC on your desk with fans whirring away simply make sure you don’t record with your microphone next to it. The best solution would be to move the computer under the desk so there is a barrier, the desk, between your microphone and your computer.
Secondly close all your windows and doors. This will help block out most sound, but occasionally a lorry or bus passing might still get through. If this happens just go over your line a second time as another take and then use that when you come to edit your vlog together.
Lastly if the room you record in is very empty, some may call it minimalist, you may find you can hear a slight reverb sound on your recording. This is because the sound isn’t being absorbed by anything, normally sofas or anything soft will do this, so is being reflected back off the ways creating a short often boxy reverb. To fix this simply try adding more soft furnishings to your room or failing that there are cheap acoustic panels you can buy which you mount to your walls like pictures, which will help absorb the sound and deaden the room.
Tip 4 – Audio Processing
With the large number of plugins available in even the most basic audio programmes it can be a daunting experience on knowing where to start or to even understand what they do. Our number one tip for this is to just play around as the worst that can happen is you just turn the plugin off and the sound will reset back to normal.
For Vlogging though there is really only one or two processes that you might need to do. The main one is to apply some EQ. Even if you are new to audio you will most likely have seen or used EQ before, more often than not on a stereo system to add more bass. An EQ works by increasing or decreasing audio frequencies and so audio engineers use it to change the tone of the recorded sound to suit their needs. For Vlogging we recommend using a very basic EQ to remove the bass out of your recording. When we speak there is actually very little bass in our voice, especially in the very low part of the audio range. Your microphone will have still picked up some sound down there though so we recommend using EQ to remove it as it is unwanted and not needed.
You can also use the EQ to change how your voice sounds, for example you can boost the high frequencies to give it more sparkle. But really just play around and hear what happens.

Tip 5 – Editing
Once you’ve done your recording and are editing your vlog there are a number of things you can do to take your audio to another level.
One quick and easy thing to do is to make sure you delete all the sections where there is silence. If you are narrating over prerecorded footage but jump between the footages audio and your narration make sure you delete the areas on your audio track where you aren’t speaking. This removes background noise and means there is only ever the intended audio playing at once.
If you are having trouble saying one section, record it a few times making up lots of takes, then you can listen back and choose your favourite one, or even use your audio editor to create a new take, or comp, made up of the best bits of each take.
Finally make sure you fade the audio in and out. At the very front and end of your audio region cut it so the audio doesn’t start until you’re about to speak. Then when the audio region comes in use your editing software to add a fade in, this means your audio won’t come in abruptly and will start smoothly.
