5 tips.
For recording killer vocals at home.
OK, so you’re ready to try your hand at recording vocals at home. Your song is ready to go, and you want to get the best vocal takes you can at home.
So how can you make sure you sound the best? Whether you’re sending the files to a producer or trying your hand at mixing the track yourself, the most important thing is getting it right at the source.
We’ve got 5 key tips to give you the best chance of producing quality results.

1. Treat your room
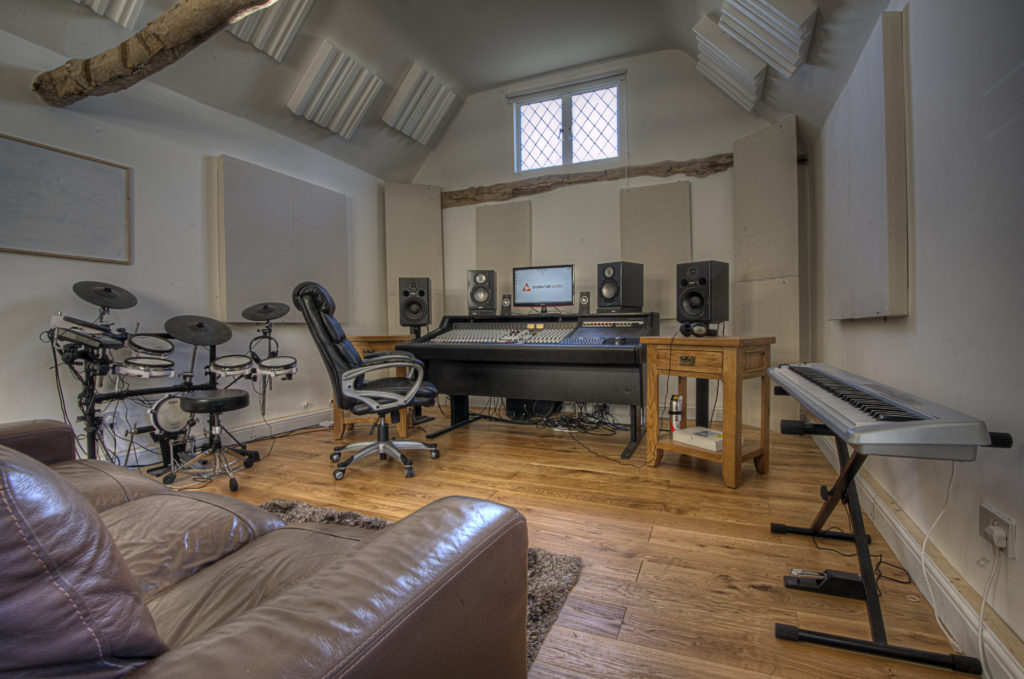
It’s not the most exciting thing element of creating your home studio set-up, but the sound of your recording space will be indelibly etched on every recording you make, so get it as good as you can!
For the most flexibility, you’ll want to have the most neutral sound from your room. No nasty reflections, echoes or background noises.
There are lots of ‘off-the-shelf’ acoustic treatment products out there, ranging from cheap egg-crate foam through to bespoke tuned panels. The sweet spot is with compressed fibreglass panels. The broadband absorption from this material is the best for keeping things neutral. It’s worth it, trust me!
2. Pay attention to mic technique
This means two things, where you place the microphone in the room and where you place yourself.
You’ll want to find the best sounding part of your room, or at least the part with the least background noise. Not too close to walls as this can create nasty reflections. If you’ve got one wall treated, try standing in front of that with the mic facing the treated wall.
When it comes to placing yourself, record a test and listen. If it sounds too boomy, you might be standing too close to the mic. If it sounds too nasal, try placing the mic higher and angling it downwards towards your mouth.
3. Invest in a simple but strong mic chain
The essentials are a condenser mic (with shock mount), a pop filter, stand, cable and audio interface. Spend what you can on getting these essentials as good as you can. Flexibility is king here, so if you can only afford one mic, try and get one that will allow you to get a nice neutral sound. You don’t need many inputs on your audio interface, so go for fewer inputs but higher quality.
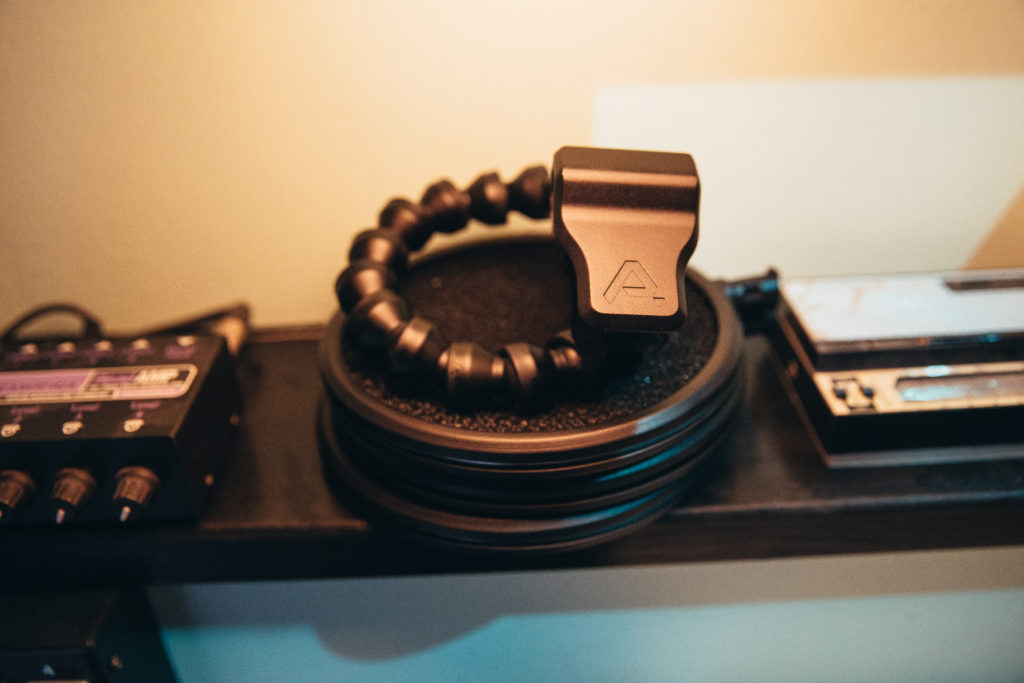
The Pop Audio pop filter gives you maximum flexibility with three interchangeable filters so you can experiment with each to find the perfect match for your own vocals.

4. Dial in your headphone mix
What you listen to while recording can have a huge influence on how you perform. If your vocals are too loud in your ears then you can find yourself singing too timidly. Too quiet and you might find it hard to get the right energy into the performance. Many singers prefer to have one ear open to the room for easier pitching. Try all of these to find what works for you.
5. If at first you don’t succeed…
… try, try again. This last tip is here to help relieve the pressure of recording! It can be quite daunting to try and get the perfect take, and there’s no harm in recording multiple takes to allow you to compile the best of each into your final version. Knowing that a little mistake isn’t going to make the whole take a write-off is really freeing!
I hope you find these tips useful. Most importantly, keep experimenting, use your ears to decide what does and doesn’t work and you’ll be well on your way!
